

Working with SternTek® Custom Tray and Baseplate Material
Want to make a good impression? When it comes to successfully fabricating restorations and prostheses (both removable and fixed), having accurate and quality impression trays and record bases is essential. Supplies like our SternTek® Custom Tray and Baseplate Material can be a game changer for restorative dentistry operations.
Visible-Light-Cured Custom Tray and Baseplate Material
A restoration is only as good as the materials it’s made from , and SternTek® provides the optimal solution for a first-class outcome with urethane dimethacrylate (UDMA) based dental resins. Visible-light-curable UDMA-based dental resins are among the most reliable composite acrylic materials for restorative procedures today, especially when it comes to custom impression tray and record baseplate production.
In addition to their affordability, SternTek® custom tray and baseplate materials also offer the following advantages:
- Low shrinkage percentage
- High elasticity and malleability, as the finished custom tray is able to withstand flexing, and is easily adaptable and trimmable
- Stability—the act of making an impression does not distort the material
- Uniform 2-millimeter sheet thickness—optimal toughness without being brittle
- Odorless material
- Compatible with most standard disinfectants
- Economically presented in prefabricated sheets
- Extra material is reusable
- Compatible with standard elastomeric impression materials
- No extra support needed for tray handles
- Quick curing with UV or halogen light allows for adequate working time
- Three-year shelf life from date of manufacture (if stored properly)
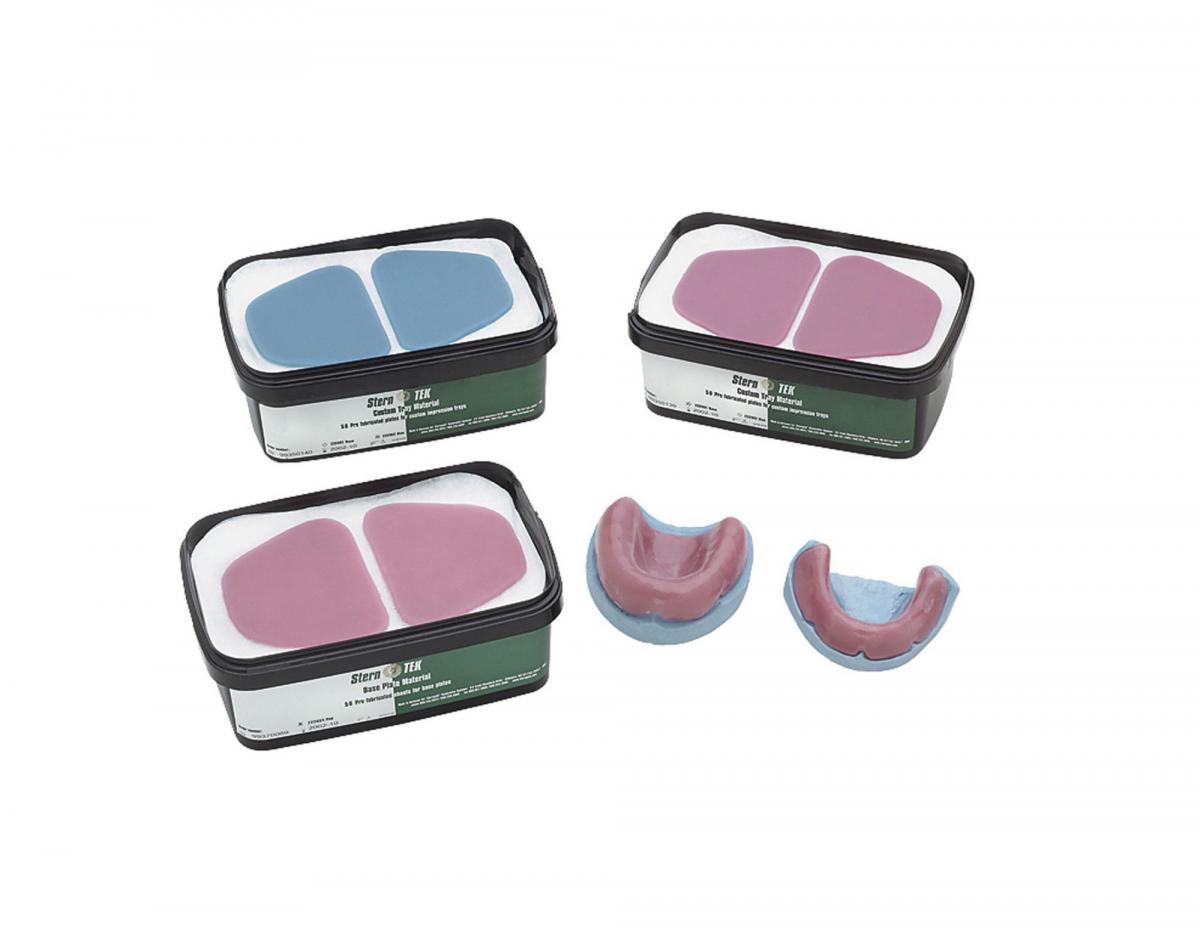
The UDMA resin’s user-friendliness, reliability, dimensional stability, uniform thickness, and strength make it a go-to solution for manufacturers looking to provide the correct substrate for an accurate impression or denture setup. Trays are available in blue and rose-colored sheets, while the baseplates come in translucent pink.
Making Your Custom Tray and Baseplate
First, prepare your dried models and mark them as necessary. Apply a thin layer of separator to the model. Remove a sheet of tray material from the sealed box. (Be sure to reseal the box tightly right away.) Gently form the sheet of material around the model, using your fingers or the end of a wax spatula—start in the center and push it into the palate. Be careful not to stretch the material too much!
Carefully fold the material over the edges, pushing into the area at the border of your tray. Trim away the excess from the designated borders—you can store this extra material for later use, or use it to make the tray handle.
You should be left with a comprehensive oxygen-inhibiting coating: this is the sticky, resin-rich uncured layer covering the surface of the model. While you could remove this layer with careful finishing and polishing, it’s more efficient to apply an oxygen barrier—the SternVantage® Varnish LC is a light-cure, one-component surface coating material that will do the trick. The varnish will also produce a hard, high gloss, solvent- and stain-resistant, ultra-dry finish after polymerization.

Optimal Curing Using Sterngold’s Light Polymerization Unit
Now that you’ve shaped your mold, it’s time to cure the material. With a UDMA-based resin, this is as simple as prepping it with ultraviolet A (UVA) or halogen light.
If you chose not to apply an oxygen barrier, be sure to clean the resin with alcohol or acetone prior to curing. To begin the curing process, simply set the timer on your light polymerization (light cure) box for two minutes and let the light do its work.
The tray should be set after two minutes of curing. However, the space under the handle may not be done yet. Be sure to check, and if this is the case, take the tray off, flip it over, and return it to the light unit for another minute or so.
Use a lathe or a burr to smooth off any rough spots: the best way to tell if you've done a good job is to run your finger along the edge. If you need to make any additions, simply roughen the area, apply a SternVantage® Varnish LC primer, incorporate the additional material, and repeat the light-curing cycle.
Frequently Asked Questions
Should I be concerned if the tray material lifts away from the model during the curing process?
No. There is always some minor shrinkage with this material as it cures and polymerizes. This may be visible as the tray pulls away from the model, especially in the palatal areas. Minimize shrinkage by fitting the tray material as close as possible to the model and avoiding excess material in the palatal region. Shrinkage depends mainly on the filler percentage and resins used, not the curing light intensity.
Is the tray material self-adhesive prior to polymerization?
Yes. This helps secure your tray handle, as metal supports (such as paperclips) won’t be necessary to keep it from slumping.
How do I achieve a smooth surface on the custom tray?
The simplest way to achieve a smooth, high-gloss surface on your custom tray is with SternVantage® Varnish LC. Apply a thin coat of varnish to the outside surface of the tray and cure to produce a glossy, patient-friendly surface.
Trust Sterngold Dental for All Your Restorative Dentistry Supplies
To deliver the best restorative output, you need high quality products. For an accurate fit, trust our SternTek® Custom Tray and Baseplate materials. Our affordable, easy-to-use, dimensionally stable and strong materials will create an excellent impression.